Tag: technology

  • Week 6: User Interface Animation

    Week 6: User Interface Animation

    For Week 6 of Motion Across Media, I am reading about the animation process in Liz Blazer’s Animated Storytelling: Simple Steps for Creating Animation & Motion Graphics.

    Reading & Writing

    Chapter 10: Animate! in Liz Blazer’s Animated Storytelling focuses on bringing a story to life through movement, emphasizing the importance of intentional animation choices. In this chapter, Blazer brings together all the tips that were taught throughout the beginning sections of her book: storyboards, color scripts, soundtracks, and more. Before starting to piece together your animation, she suggests to create a production calendar to track progress and ensure deadlines are met. She states to print out a calendar, fill it in backwards starting with the final delivery date, and then work back through post-production, production, and pre-production. This will help create a realistic timeline for the project. Once this is created, the information can be easily transferred to a digital calendar that can be shared with creative partners.

    Blazer highlights a few more important steps when starting an animation project, including making sure your tech equipment is up-to-date, creating simple file names to stay organized, and backing up your work consistently. Once these steps are complete, she suggests to start with the easy shots to gain confidence with the project. Since animation is a time-consuming endeavor, it is important to strategically plan out all shots before starting to avoid cutting any shots during the production phase.

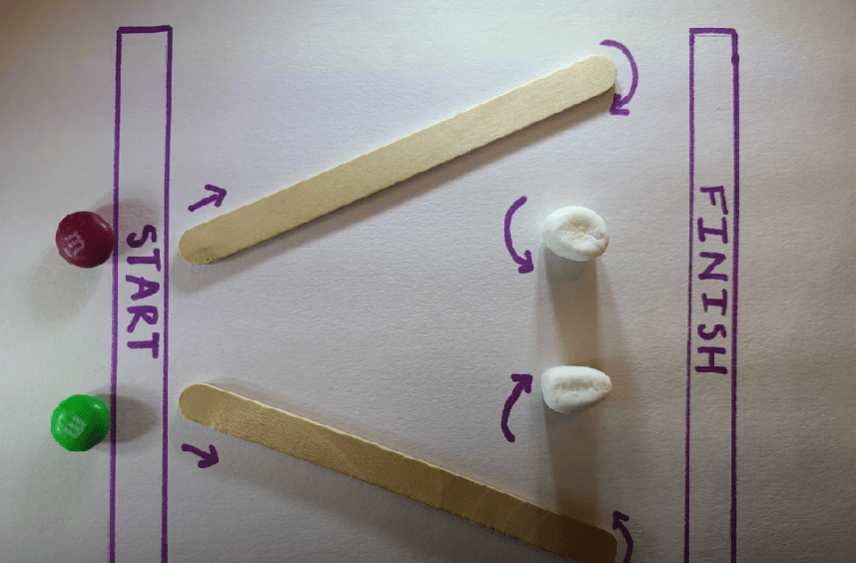
    Blazer also stresses the importance of strategic movement in animation. She asserts to always anticipate and follow through to help illustrate the physics of gravity on weight and movement. Composing directional movement, such as horizontal, vertical, diagonal, or circular movement, will create consistency throughout an animation. In addition, Blazer offers tips to create a visually compelling animation:

    • Don’t put the subject in the center of the frame too often.
    • Mix up shot lengths. Use a mix of close-up shots, medium shots, and long shots.
    • Mix up shot timing. This will create different paces in your animation.
    • Add blur and grain, grunge, or vignettes.
    • Be flexible with the soundtrack. This could change during the production phase.
    • Mute the soundtrack to check that your animation is expressive without the music or sound effects.

    By reinforcing the idea that animation is storytelling in motion, Blazer guides animators to make thoughtful, impactful choices that enhance their projects.

    Research to Inform

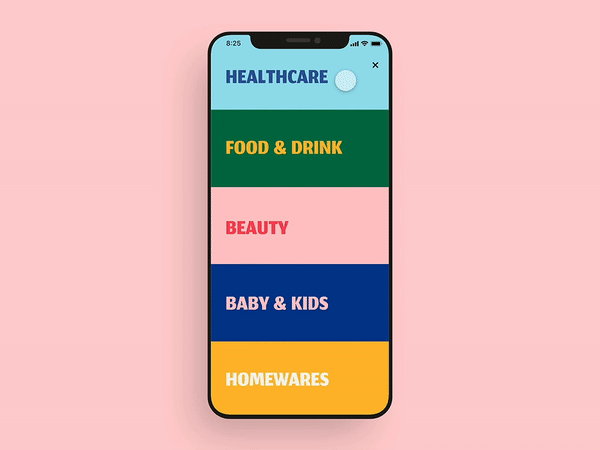
    This UI GIF caught my attention because of the bright colors used in the design. I also think this showcases excellent UI design because as one section opens, the other closes. This allows the user to view the entirety of each section on the screen without scrolling.

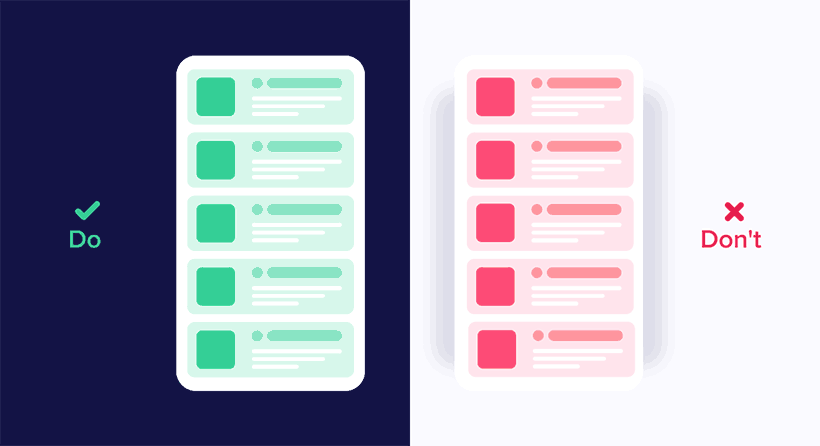
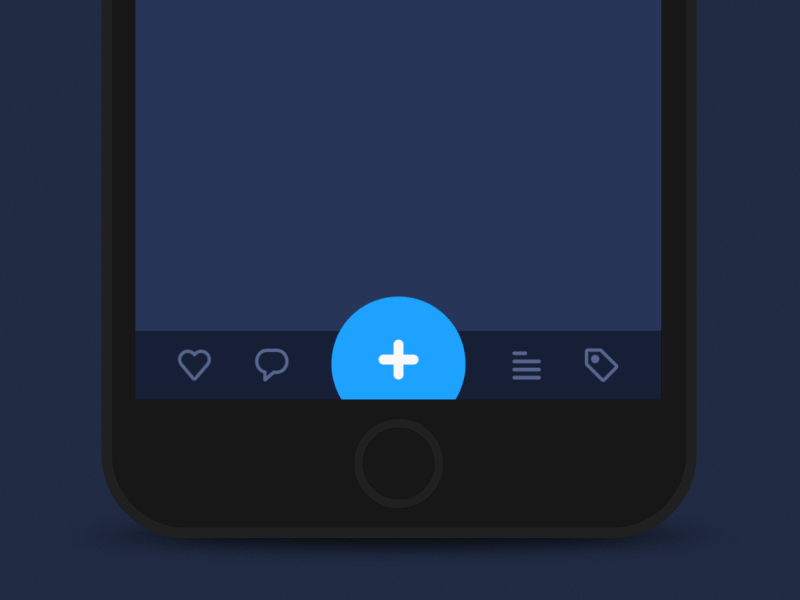
    I liked that this graphic showcases good and bad UI design. Being a beginner in UI design, it was interesting to see how little changes in movement can impact user experience. The panel on the left shows different elements moving in the same direction, while the one on the right depicts movements from many directions. It is important to be consistent in movements and not overcomplicate user interface designs.

    I chose this GIF because I like the switch from blue to black. I also like the simplicity of this design. I also like that the “X” is fully animated when the blue object passes through it. This is a very intentional UI design.

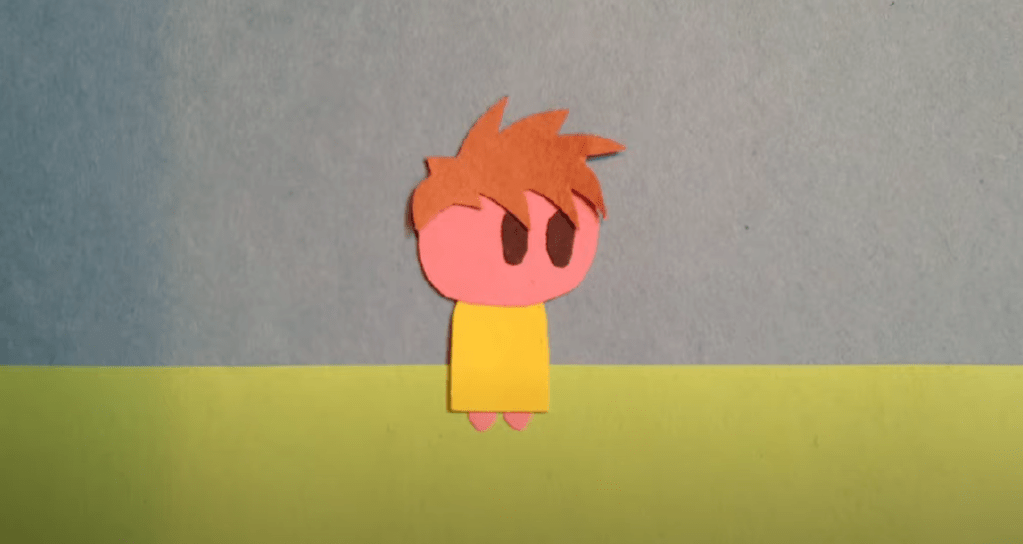
    I love how the paper airplane is shot off into the distance. This animation also uses the “anticipation” principle of animation by the page dragging down and then flinging up to release the paper airplane. I also like the bounce that is created after the paper airplane flies. This adds to the realism of this animation.

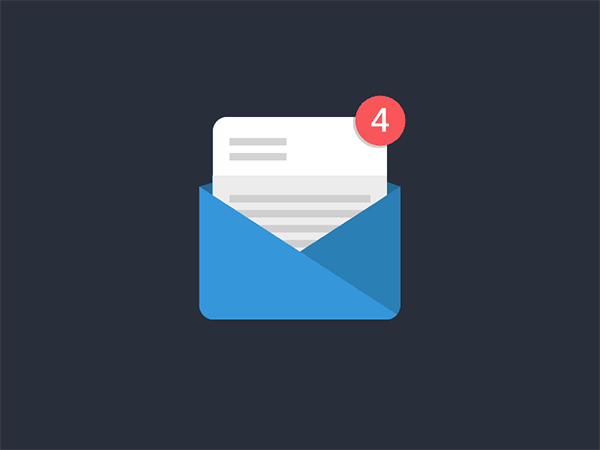
    This animation inspired the one that I created this week. I liked the animation switching from 4 to 5 and how the 5 started upside down until the new page appeared. I also like that the envelope is static. With the paper and number both animating, adding another animation would maybe make this GIF a little too busy. The still envelope contrasts well with the movement in the rest of the GIF.

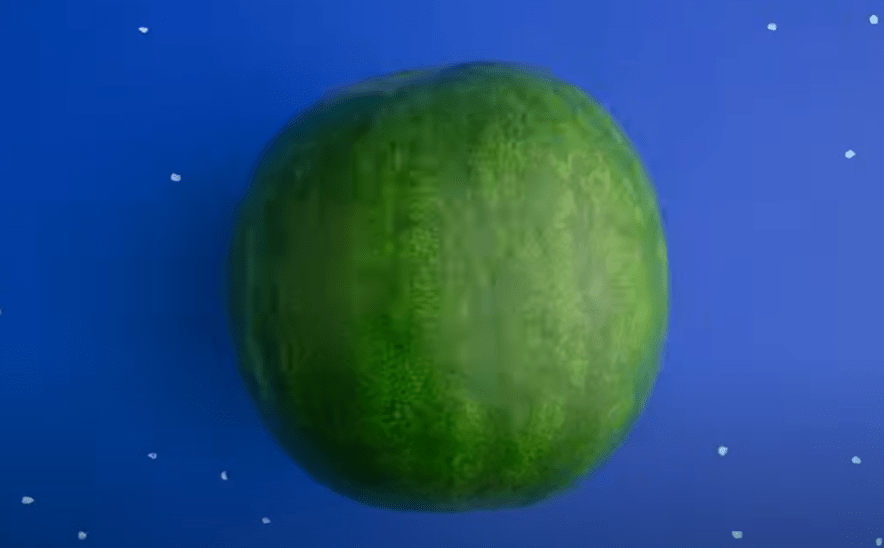
    I love the morphing of the circle in this GIF. It almost creates a water-like animation where droplets of water are breaking off the big circle. I also think using the blue color adds to this effect. I also like that the three smaller circles go back into the larger circle in reverse order. This creates a nice loop in the design.

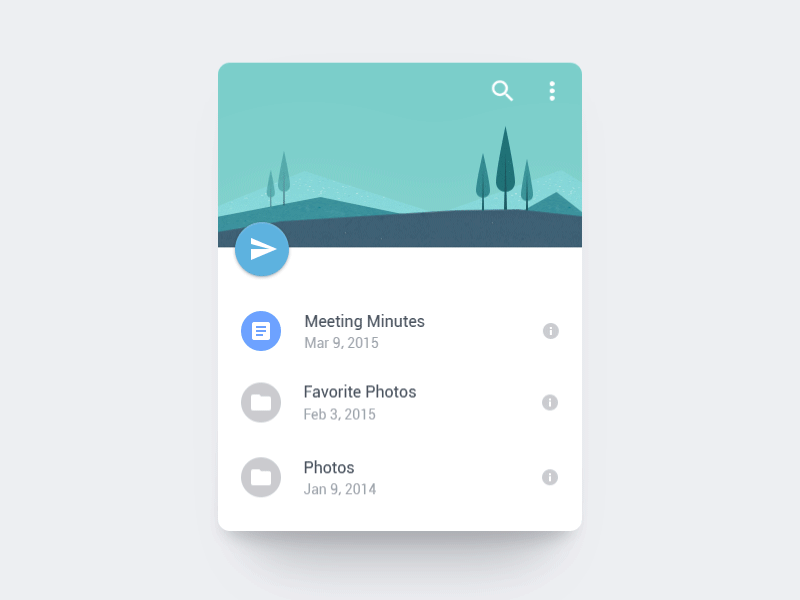
    This one is definitely a more complex UI design. but I enjoyed the flow from screen to screen. I like how the animations are consistent from screen to screen, creating a cohesive user interface design. I also like the contrast of the still elements with the moving screens.

    I think this UI animation does a great job of capturing a geometric theme. Each animation created in this design morphs into some geometric shape – circles, hexagons, lines, etc. Creating consistency and a theme are both important elements of UI design.

    Create

    User Interface Animation: Notification Bell

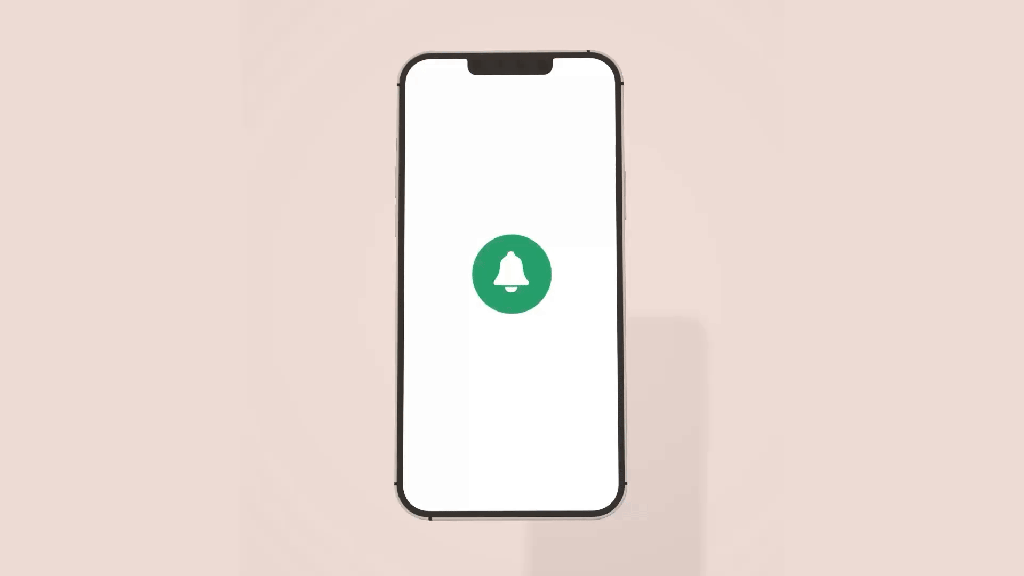
    Above are my User Interface Animation video and GIF. I first started in Adobe Illustrator and used the pen tool to design a bell. I imported the design into Adobe After Effects and then used the ellipse tool to create the circles. I wanted to change the size of the circle for when the person “clicked” on it and used the scale tool to achieve this.

    I then worked on animating the bell, and I moved the Anchor Point to the top of the bell to hopefully create a realistic back-and-forth motion of a bell. When changing the size of the bell with the scale tool, I copied the layer and moved the anchor point to the center of the bell to ensure that the size of it changed from that anchor point. It was a little tricky having two different anchor points, but with some experimentation, I think we figured it out!

    For the blue notification circle, I wanted the “1” to mimic the motion of the bell to create a cohesive design. I matched the angles that the bell was moving with the “1” to achieve this effect. I also wanted to practice creating a mockup, so I grabbed an image from unsplash.com and put the animation on a phone screen.

    In terms of sound effects, I used a click noise to emulate the person clicking on the icon, a ringing bell sound to showcase the bell moving back-and-forth, and a “pop” sound for when the “1” disappears. These sound effects are from pixabay.com. I also added in some happy and higher-energy background music to illustrate the excitement of getting a notification.

    Overall, I thought this was a challenging project. I don’t have any prior experience with UI design, and I think I have to train my mind to think like a UI Designer. The hardest part for me was coming up with an idea for the project. I was inspired to choose this notification animation because I was looking through all the notifications on my phone, and I thought it would be a fun animation to design. I am happy with how it turned out and I’m looking forward to practicing more user interface animations in the future.

  • Module 3: Pre-Production for Stop Motion Animation

    Module 3: Pre-Production for Stop Motion Animation

    Reading & Writing

    This week, I read Chapters 5 and 6 in Liz Blazer’s Animated Storytelling: Simple Steps for Creating Animation & Motion Graphics as we prepared to create stop motion animation videos.

    Chapter 5: Color Sense

    Blazer opens the chapter with explaining color vocabulary, including hue, saturation, and value. Hue refers to the common color name like blue or green. Saturation is the intensity of a color, and value is the lightness or darkness of a color. This chapter explores the power of color in animation and motion graphics, emphasizing how color choices influence mood, storytelling, and audience perception. Blazer explains that color is more than just an aesthetic decision – it’s a psychological tool that can evoke emotions. She discusses the significance of color harmonies, contrast, and saturation in creating a compelling visual narrative. In the chapter, Blazer notes the difference between CMYK (Cyan, Magenta, Yellow, Black) and RGB (red, green, blue) color systems. CMYK is used for print materials and colors are created by mixing pigments on paper. On the other hand, motion uses RGB where light is used to mix color.

    Blazer also walks through the steps to create color scripts, a technique used in animation to plan color palettes across an entire sequence. By mapping out color changes over time, artists can reinforce story beats and emotional shifts. Blazer offers the following tips when using color in an animation project: limit color palette, design for movement, use surprise color for punctuation so it stands out, use one thematic and one accent color, and make your own rules.  

    Chapter 6: Weird Science

    In this chapter, Blazer encourages readers to experiment with animation and to not be afraid to try weird, creative rituals. Like Jimi Hendrix made his own weird science, Blazer suggests that animators should experiment, mess around, test limits, and do something new with an animation. This chapter delves into the technical and experimental side of animation, encouraging artists to push creative boundaries by incorporating unexpected elements. Blazer discusses the role of physics, movement, and timing in making animations feel believable yet imaginative. She highlights how exaggeration, squash and stretch, and secondary motion add depth to animated storytelling, making scenes more dynamic and engaging.

    The chapter also emphasizes the importance of observation and curiosity in the animation process. Blazer encourages animators to study real-world physics and then bend those rules to create something new. She explores the connection between art and science, stating how technological advancements, such as motion capture and procedural animation, can improve traditional animation techniques. This chapter inspires readers to blend logic with creativity to create unique animations.

    Research to Inform

    To prepare for the creation of my own stop motion animation, I watched a series of videos that used different techniques to inspire my video.

    1.) Paper Stop Motion Animation

    I thought this was a very unique way to showcase stop motion. The creator cut out pieces of paper to create a scene and moved the pieces with their hands. When their hand touched the screen, a new element would appear.

    2.) Fruit and Vegetable Stop Motion

    This was a great example of a nonlinear story line where the fruits and vegetables would transform into other objects. For instance, the creator had a watermelon transform into a globe. Then, the seeds from the watermelon fell off to the ground which then morphed into an egg. I was personally struggling with coming up with an idea for nonlinear stop motion, and I thought this video was very helpful in thinking of an idea.

    3.) Clay Stop Motion

    This video utilized 2500 pictures, and the creator used clay to morph each object into the next. First, the craftsmanship of this video is impeccable, and I aspire to achieve this type of cleanliness and precision in my animations one day. It’s amazing how animators can think of these “out-of-the-box” ideas to create a storyline with just small pieces of clay. I also liked how the creator used sound effects to enhance the video and make it sound more realistic.

    4.) Stop Motion with Drawings and Origami

    In this video, the creators illustrated the idea of “where do ideas come from?” They used pieces of paper and drew elements on each page. I thought this was another create idea with a linear story line. They first introduced the question, answered with through different animations, and then finished with “The End.”

    5.) Elephant Stop Motion

    This is another clay animation, and I love how they illustrated a clay elephant coming to life. The sound effects were well placed and enhanced the story. They also used different hand motions to sculpt each part of the elephants. I also like how they created a still background that wasn’t just blank – the nature elements, including the mountains and the trees, help paint the picture of the scene. In my future stop motion animation video for next week, this might be a good idea. I want to strategically think about the background and how it can enhance the animation.

    Create

    Pre-Production Templates & Storyboards

    For my two stop motion animation project ideas, I thought I would stick with the same theme of racing and running, similarly to what I created this week. Since Blazer suggested to choose a subject that you are very passionate about, I thought this would be a good topic for me.

    When thinking of an idea for my linear storyline, I was inspired by three Hot Wheels cars I found in my basement when I was looking for materials for this week’s stop motion animation project. When I was younger, I was obsessed with all things cars, and I thought it would be a fun idea to create a stop motion animation of the three cars racing each other with car-related sound effects.

    For my non-linear storyline (and if I’m honest, I think I prefer this one over the other one), I was inspired by looking at my running shoes. I thought, “what if I could create an animation with a shoelace?” I was thinking I would start with a shot of the shoelaces attached to the shoe, and then it would venture off the shoe, go through a series of animations, and then return to the shoe. This would follow the Book Ending storytelling strategy as discussed in Blazer’s book.

    See the link above for my creative briefs and storyboards!

    My First Stop Motion Animation – M&M Race

    For my first-ever stop motion animation, I decided to create a race with two M&M’s. Since I am a runner, I was inspired to create something involving a race. When I was younger, I would always create obstacle courses in my backyard, so I was inspired to create a little obstacle course race for the M&M’s.

    For this project, I used my Samsung Galaxy s20 and took 350 photos. I had a few issues with importing the files, and I had to rename each photo to import the images as an image sequence into Adobe Premiere Pro. I decided to take aerial shots for this project and taped down the marshmallows, popsicle sticks, and paper to the table so there would be no movement besides the M&M’s. This was a fun project to create, and I’m excited to create another stop motion animation video next week.