Readings and Writings
This week, I read Chapters 2, 3, and 4 in Liz Blazer’s Animated Storytelling: Simple Steps for Creating Animation & Motion Graphics.
Chapter 2: Storytelling
In this chapter, Blazer asserts that storytelling is limitless, where you can take the viewer on a journey simply with shapes and colors. She introduces the idea of story “beats,” and it is important to plot them out to create a unified story with the most emotional impact. Even though there is boundless potential in storytelling, it is essential to approach it with discipline and intentionality. The chapter introduces two storytelling models:
- Three-Act Structure:
- Act 1: Problem Introduction (The Beginning): Establishes the main character and presents a problem or conflict.
- Act 2: Attempt to Solve (The Middle): Depicts the character’s efforts to address the problem.
- Act 3: Resolution (The End): Concludes with the problem being solved.
This structure is versatile and can be applied to motion graphics projects. For instance, Act 1 might present a question, Act 2 explores potential answers, and Act 3 provides a solution.
- Nonlinear Story Structures: Blazer also explores alternative storytelling methods that don’t follow a traditional linear path. They follow their own set of rules and are often whimsical and unorthodox. These structures offer creative freedom to the animators. Blazer shares some approaches within nonlinear storytelling:
- Book Ending: Starting and ending with similar scenes or themes.
- The Beaded Necklace: A series of related but distinct segments connected by a common theme.
- The Countdown: Establishes the climax and then rhythmically builds towards that climax. The build becomes more intense the closer to the climax.
- The Puzzle: Presenting pieces of the story that the audience assembles to form a complete picture. This structure offers a fun interactive element for its audiences.
- High Concept: These films have a basic concept that is so strong that it controls all other elements of the film.
These methods encourage creators to think outside traditional frameworks and experiment with the flow of stories.
Chapter 3: Unlocking Your Story
This chapter serves as a bridge between conceptualizing a story and visualizing it through storyboarding. Blazer provides practical exercises to help creators edit their narratives:
- Clear Conflict, Reveal it Early: Identify the central conflict of your story and introduce it promptly to engage the audience.
- Start Later: Begin the narrative at a compelling point and skip the set up to this point. This is the “rip the Band-Aid off” strategy. The goal of “Start Later” is to hook the audience immediately.
- Biggest Secret: Determine what information is withheld from the audience and decide the most impactful moment to reveal it.
- Get Graph-y: Visualize the emotional trajectory of your story using graphs.
Blazer also introduces some strategies for experimental animation, including visual music, pure poetry, repetition/evolution, continuity/diversity, anthology, and cut it out & play. These exercises are designed to give the animator freedom to shed the rules of a traditional structure and to hone in on the visions that inspired the film in the first place.
Chapter 4: Storyboarding
Blazer emphasizes the importance of storyboarding as a tool to translate written narratives into visual sequences. She begins by introducing the idea of thumbnailing, which are the first rough sketches of storyboards. Good thumbnail drawings only show the most essential information. She outlines best practices for creating effective storyboards:
- Shot Composition: Focus on framing, perspective, and camera angles to convey the desired mood and information in each shot. Some examples include a close-up, wide shot, and panning extreme wide shot.
- Framing: Framing is about keeping the eye interested. Using the “rule of thirds” is a good strategy where you break your single frame into nine equally sized quadrants.
- Staging: Planning out where to put the subject in space, creating a visual hierarchy.
- Continuity: Continuity refers to the natural flow of visual information from one shot to another.
- Clarity and Simplicity: Ensure that each frame communicates its intended action or emotion clearly, avoiding unnecessary complexity.
- Consistency: Maintain uniformity in character design, proportions, and environments.
- Feedback and Iteration: Regularly review storyboards with peers or mentors and be open to making changes.
By planning through storyboards, creators can ensure that they create a compelling visual narrative.
Research to Inform
1.) Fritz-Kola
This animated clip describes the creation of fritz-kola’s journey from a startup to one of Europe’s main cola brands. There were a few aspects of the video and choice of animations that piqued my interest:
- Color Palette: Throughout the video, Kinisi used black and white colors and halftone textures to illustrate this journey.
- Simplicity in the Background: I loved that the illustrations in the background were minimalistic.
I think the hook they used about the creators of Fritz-Kola was very effective and relatable. They are trying to figure out what they wanted to do out of college, and Kinisi utilized a calendar animation to flashback to the beginning of their brand creation. In addition, one audio line about their goal stood out to me: “Make something that makes spending time in their favorite place even better.” Overall, the audio, sound effects, and animations work harmoniously together to whimsically illustrate the beginning of this brand in a concise and eye-catching manner.
2.) “Longevity” by Chá de Bold Estúdio

I chose Chá de Bold Estúdio’s animated clip because I was interested in the title: “Longevity Hackers.” I thought this could have multiple meanings, so I was curious to figure out what they meant by this title. This animated clip explores the idea of how humans try to beat death and increase lifespan. To illustrate this, death is made into a character. There were two animations that stood out to me:
- They used an escalator to illustrate how humans are trying to catapult human life.
- They created a scene of chess where the character “death” was playing a human. In the end, death declares “check-mate” on the human, showing that humans cannot escape death.
The chess scene reminds me of the animated illustration in Harry Potter: Deathly Hallows where they describe the three deathly hallows and how death always wins in the end. I also thought that the tone of voice used in the audio was effective. The voice was serious and almost monotonous, conveying the severity of this idea.
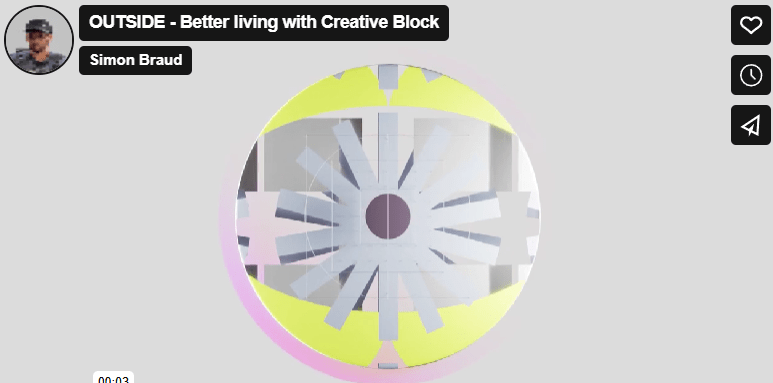
The title “Outside” grabbed my attention to click on this animated video. I first thought, “what could Outside mean? Is this a video about nature?” After watching the video, I realized that “Outside” is the solution presented to the problem in the video.
I like to split this video into three sections. The first section is characterized by a monotonous voice, more geometric animations, and sound effects that create a futuristic feel. Then, the middle section introduces the problem: the creative block. There is a shift in music here that elevates the intensity of this issue, and this builds until reaching the proposed solution.
I also like the simplicity in the first clip. The words appear one at a time, and a simple sans serif font is used. This contrasts with the rest of the more complex animations throughout the rest of the video.
One other element of this video that I thought was effective was the use of pauses in animation and audio. There is a pause after the clip of the trapped human, and this adds to the dramatic effect of the person being “stuck” because of a creative block.
The animations in this clip are phenomenal. I’m curious how long it took to creative this video. I like how the animations seamlessly flowed from one to the next.
Create
Personal Introduction – Christian Schaaf
This was my first time ever using Adobe After Effects, and I really enjoyed learning this program. I started off with writing my script and planning out the graphics and video clips that I wanted to use. I found all the images that I wanted to use, brought them into Photoshop and/or Canva, and exported them with transparent backgrounds. I also pulled some royalty-free images from pexels.com, one by Cristian Dina and the other from Emic Can Acer. My background music is “Ukelele” by Benjamin Tissot, a copyright-free music track from bensound.com. Following these steps, I got my camera and shot the few video clips that I wanted to include in the video. Once those steps were complete, I started working in After Effects.
Once in After Effects, I wanted to choose a color palette for the graphics and text. I chose two main colors: a light blue and black. To ensure consistency, I wrote down the HEX code for the blue color and used that throughout the project. I had a fun time experimenting with the different text animation presets, trying to choose ones that would work best for each clip. For instance, there is a clip of me running, and the animation I chose for the text in that clip looks like it’s bouncing up and down. I chose this to try to mimic a running motion.
I also enjoyed learning about keyframes and utilizing the scale, opacity, rotate, and position animations within this project. Overall, I had a fun time experimenting in After Effects, and I am excited to learn and practice more features in this program throughout the duration of this course.