Readings and Writings
In the Introduction and Chapter 1 sections of Animated Storytelling, Liz Blazer discusses the importance of pre-production for any creative project. She begins her book with making a distinction between animation and motion graphics. Animation, on the one hand, derives from the movie-making industry while motion graphics has been part of the graphic design discipline. She provides tips on how to become an expert storyteller and defy gravity through animation.
Described as the doorway to creating a successful animation, Blazer breaks down the pre-production process into three steps: Concept Development, Previsualization, and Asset Building. During the Concept Development phase, animators should start with creating a creative brief and answer the following questions: What must it be? Who is it for? How long must it be? What is the objective? What is the deadline? The next step is to identify the Big Idea and follow the Yes…and rule, welcoming any idea that comes to mind. Then, it’s time to zero in and create an elevator pitch, capturing the tone, plot, and theme within a sentence or two. Blazer suggests a few more helpful exercises in boiling down the main idea of a project, including creating a six-word story and tagline.
Previsualization is the next step where an animator develops concept art, solidifies design direction, and establishes animation methods. During this phase, it is helpful to find inspiration online and experiment with different mediums in the physical world. This step is all about experimenting with design directions and making changes to the story based on this experimentation.
The final stage, Asset Building, is where an animator identifies all needed assets, including logos, character designs, props, fonts, scripts, and more – essentially any piece that is needed to create the final project. Then, Blazer suggests to create a style frame, a single image that encapsulates the overall look of the project. Once these steps are completed, it is time to move onto the production phase.
Research to Inform
1.) Running GIF
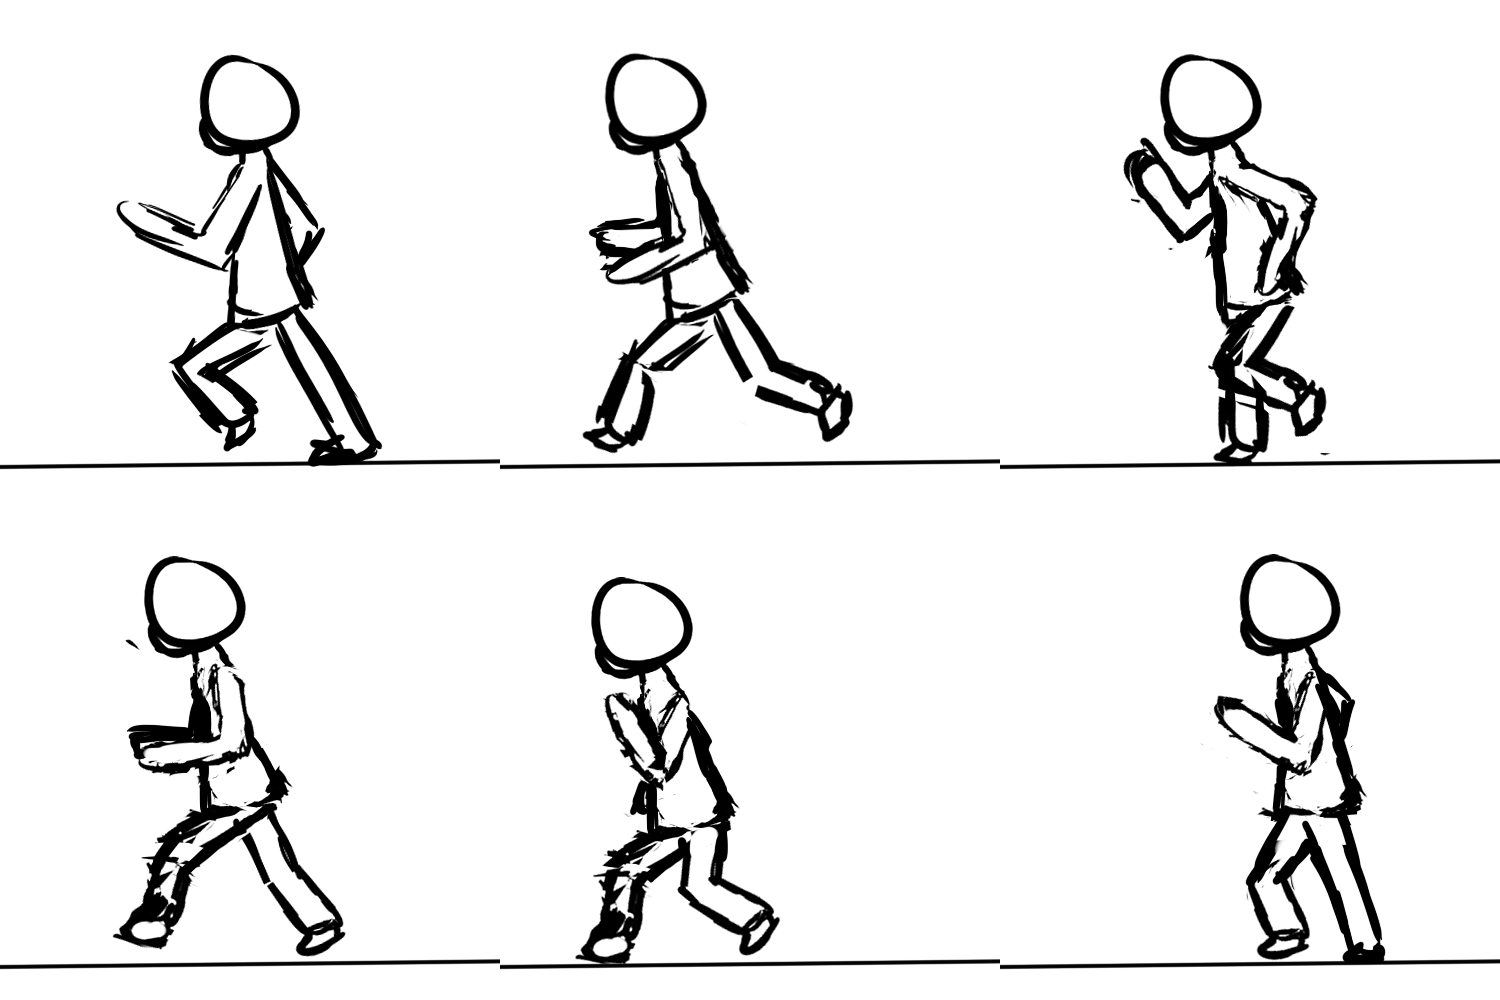
The first GIF I chose is a running GIF, and I selected this one because running is a big part of who I am. I also thought it would be interesting to see what a drawn running GIF would look like since we are tasked to draw our own GIF this week. I feel that animating a runner would be tricky because both legs and both arms are moving at all times. I personally like that the outline of the runner is not “perfect” and has some interesting lines that add texture to the GIF.
2.) Text GIF by Matthew Butler
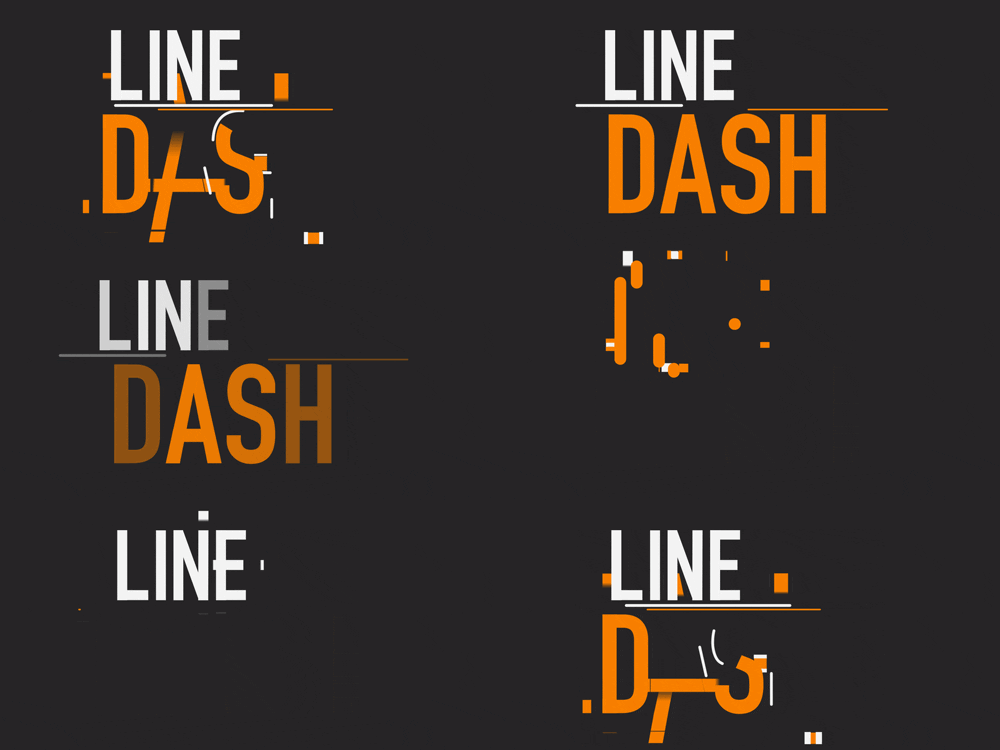
I have always been fascinated with text animations, especially in movies. With having no prior experience in creating animations, I am intrigued by the different movements of each letter. I like the geometric feel of this GIF and how the movement is either completely horizontal or vertical. The two lines between each word are a nice touch too, furthering the idea of “Line Dash.”
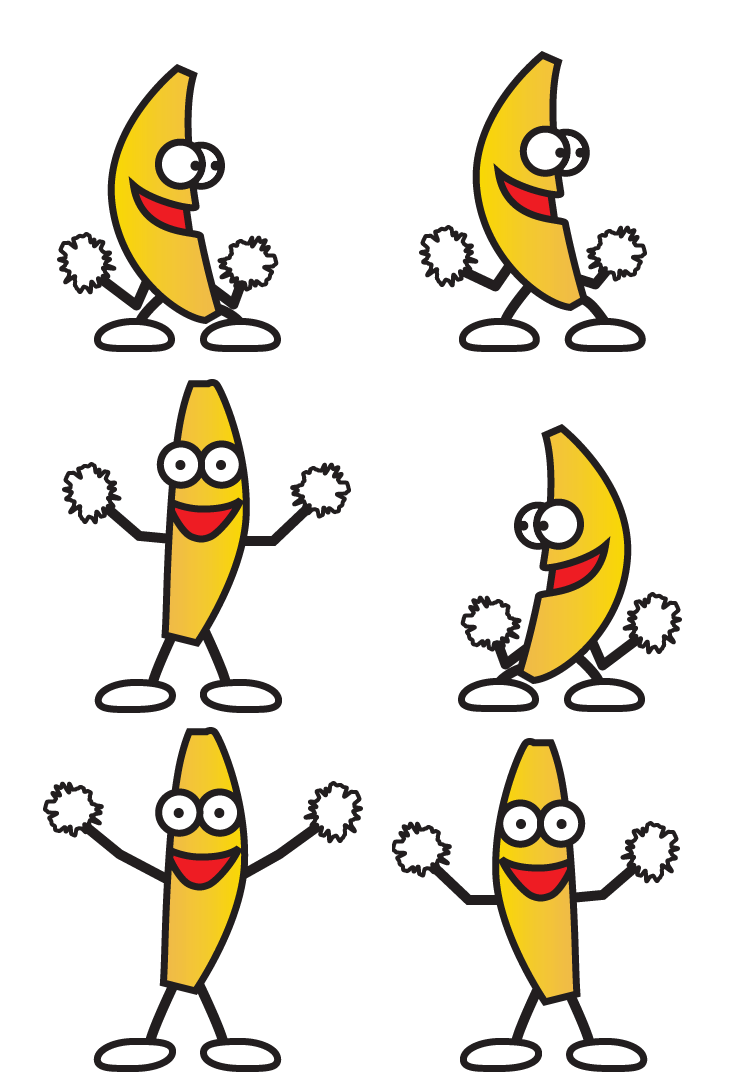
As I was researching GIFs, this one stood out to me for a variety of reasons: I was not expecting to see a cheerleading banana, and the bright yellow color made it pop. I also like how the banana looks side-to-side in addition to moving its arms. This is a creative, eye-catching GIF.
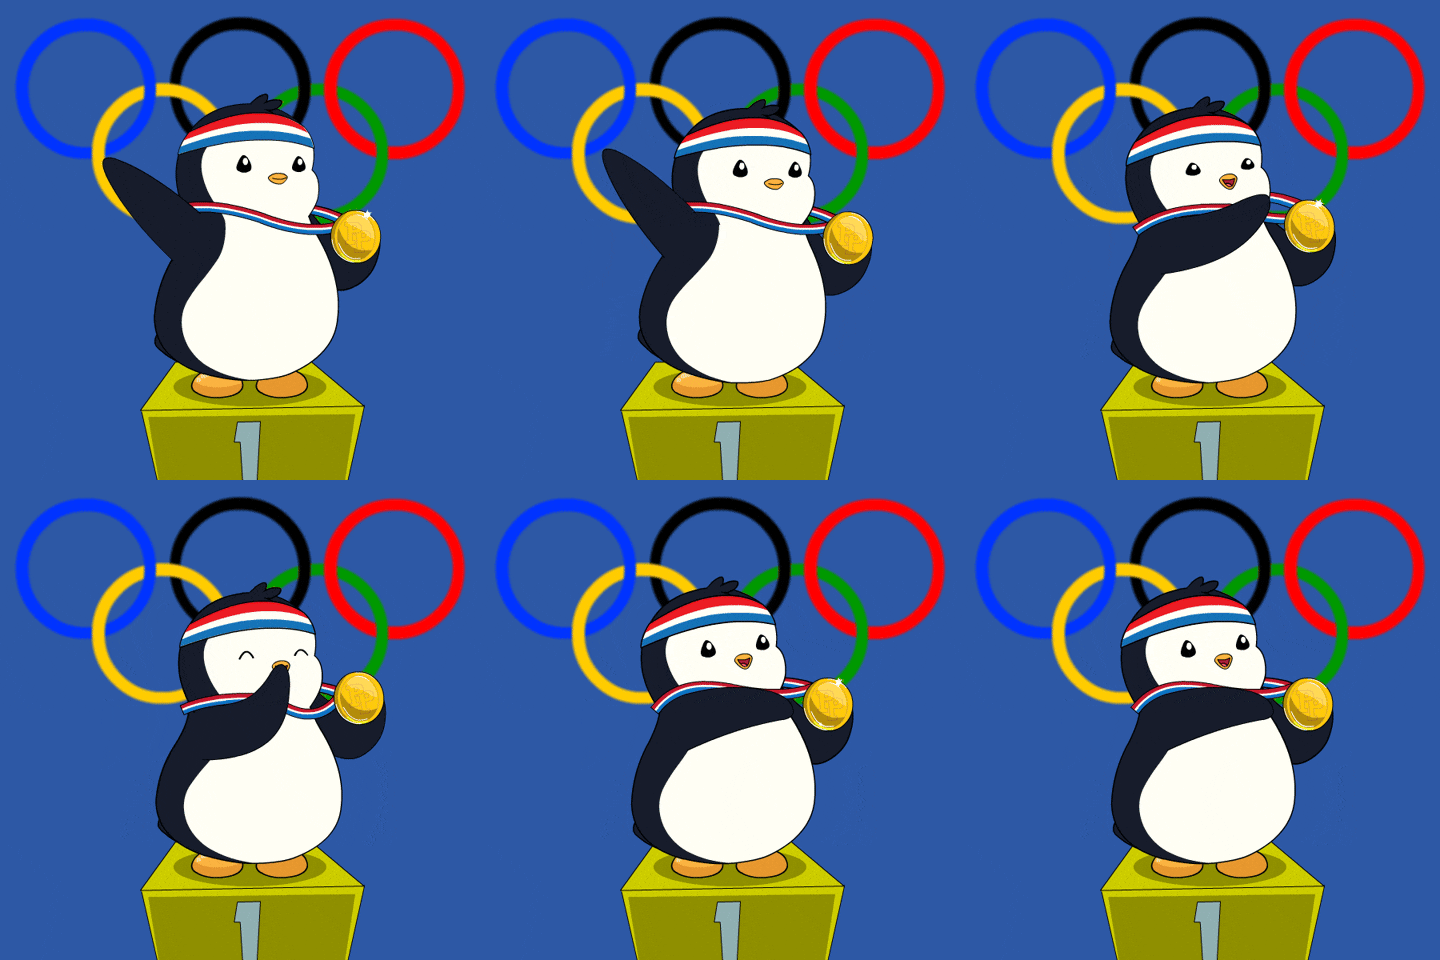
This GIF also stood out to me because of my love for the Olympics. I like this GIF because there are two different parts of the animation: (1) waving and (2) pointing at the medal. I think that was a creative combination of movements. This also caught my eye because part of the image is static (podium and Olympic rings) while the penguin is in motion, which I think adds a nice contrast to the GIF.
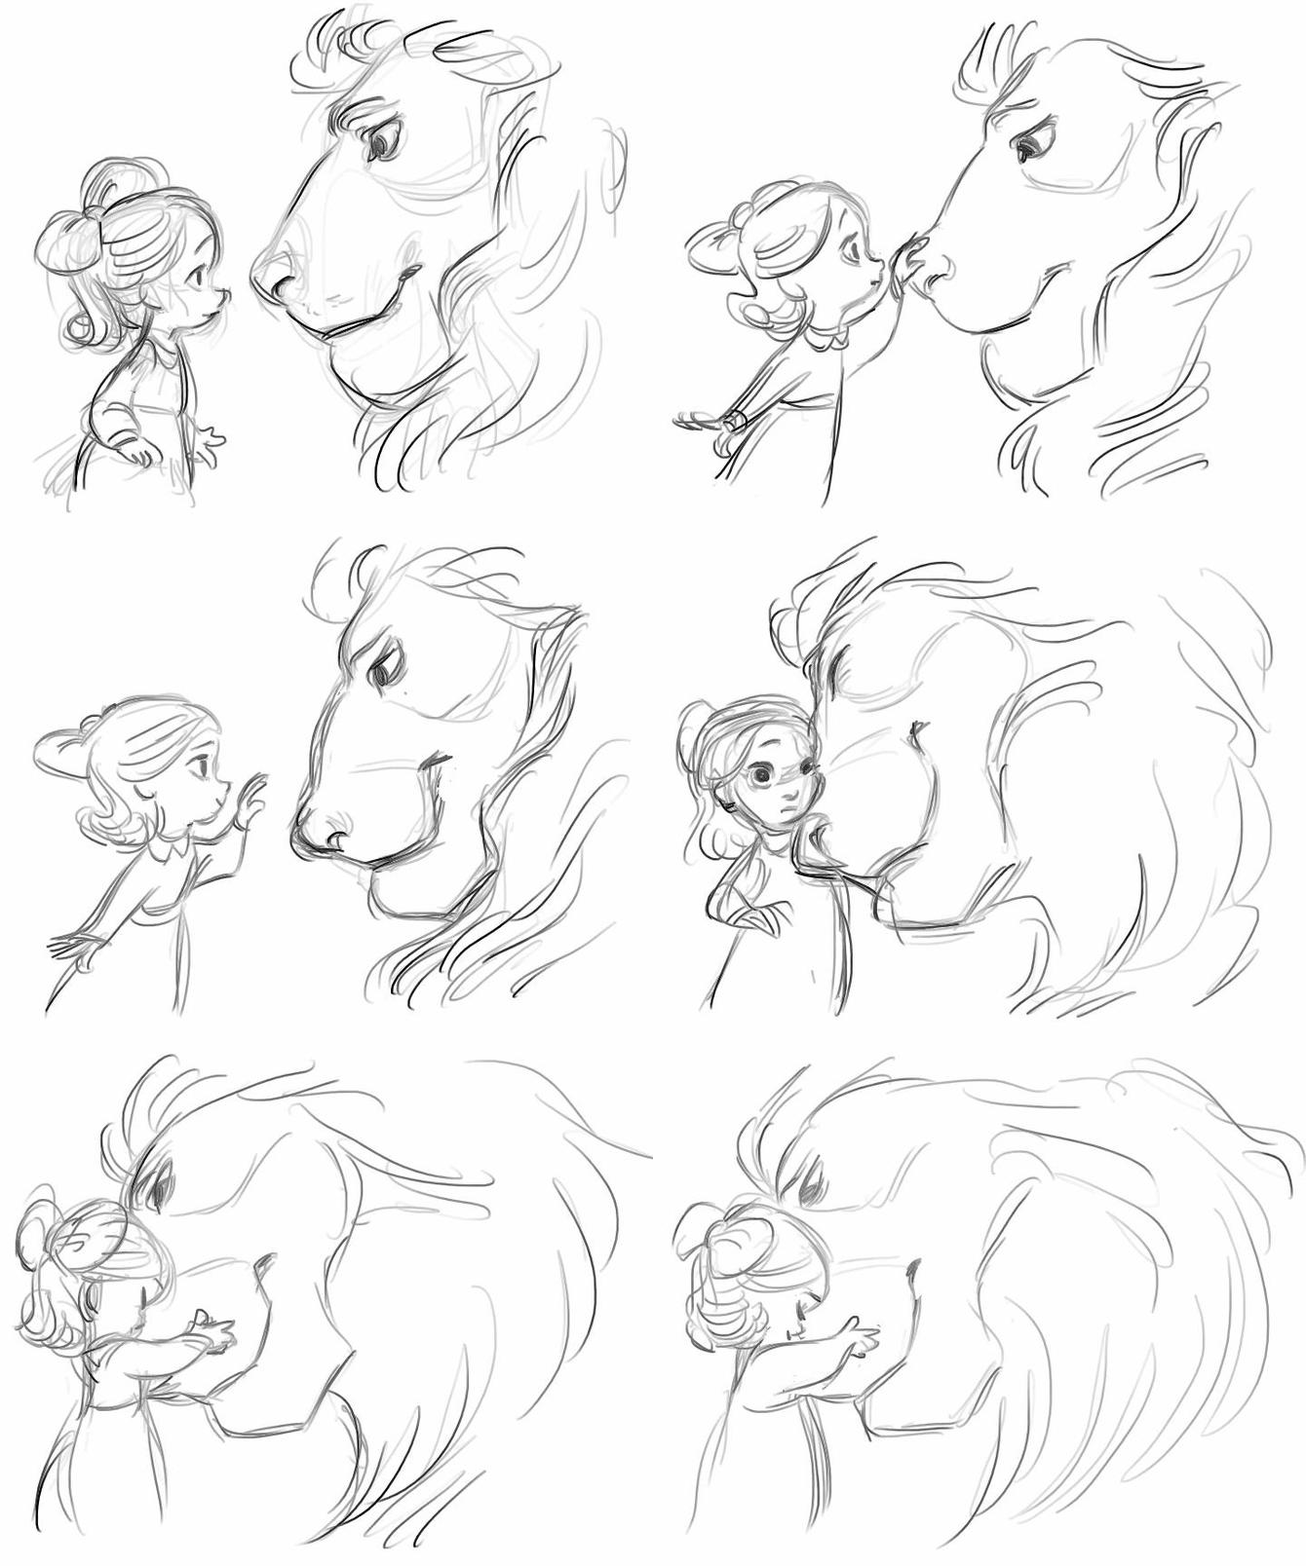
I wanted to find a GIF where there were two subjects interacting with one another. First, the line art is incredible. I also like how the animator had the girl move first, and then the lion, and then the girl again. Not only are the two subjects animated, but the lines that create those subjects are in constant movement. This animation strategy gives the GIF a greater sense of excitement and energy.
6.) Globe GIF

I chose this GIF specifically because I like the series of animations throughout the GIF – the globe spinning, to the zooming in, and then the construction of the building. When the building appears, I like how the foundation appears first, then the walls, and then the roof. It’s almost like the building is being built before us. I thought this was a very interesting way to capture that idea.

In contrast to the “Line Dash” text GIF above, I wanted to find another text GIF where the text was dormant and there was another element of the image that was animated. I thought it would be interesting to compare the look of each text GIF. I think the confetti animation completes the purpose of this GIF, but if I had to choose, I think I like the other one more because of the greater visual appeal. I do however like that the text is the background for this GIF and the confetti is the only element that is moving.
Create
1.) Photoshop Cut-Out: Olympic Rings
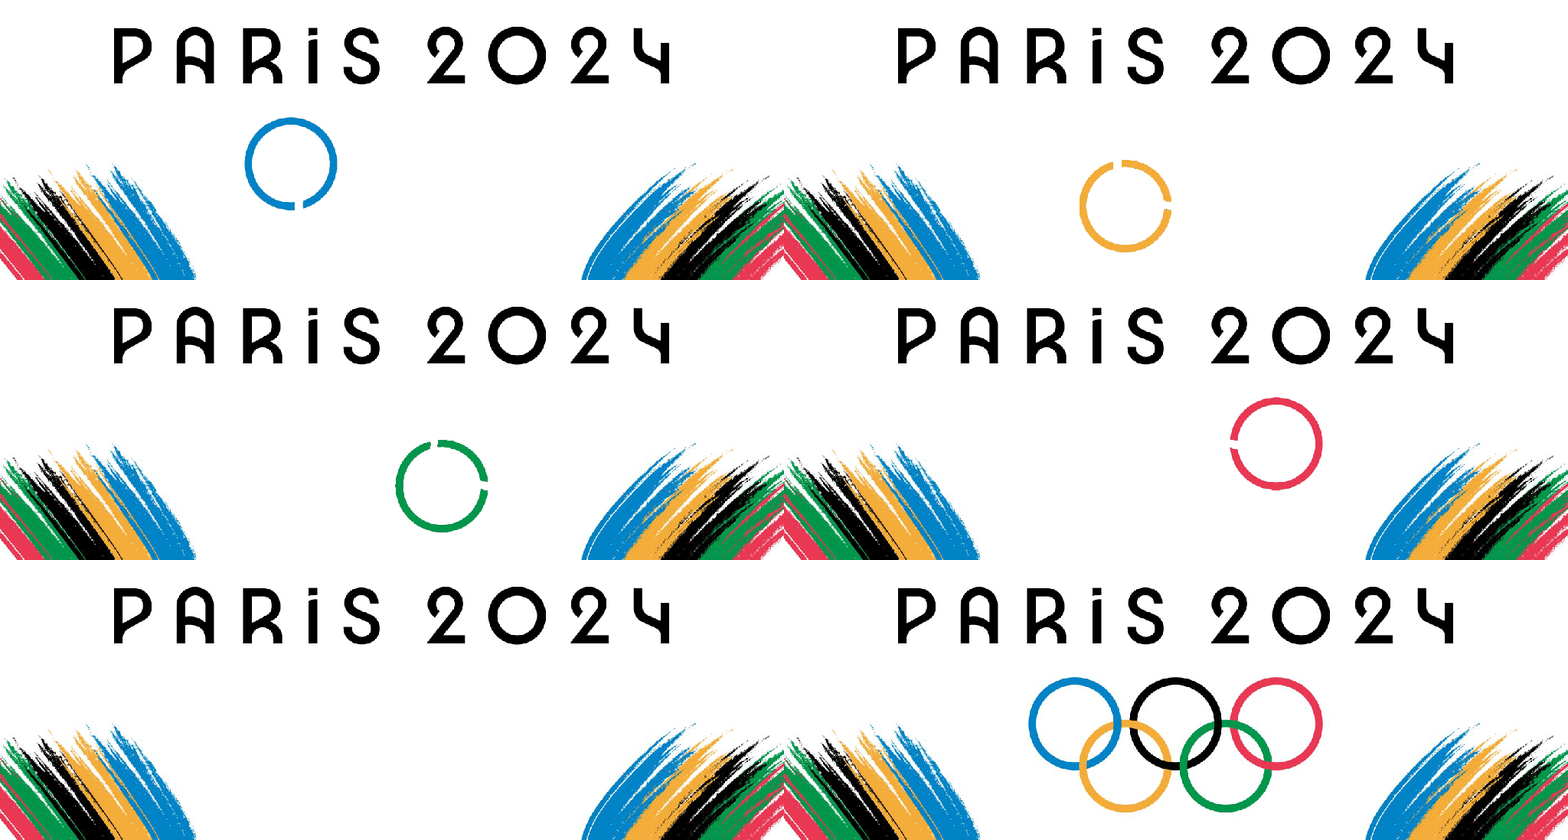
For my first GIF creation, I used an image from VectorStock.com. I created different layers for each Olympic ring and used the video timeline method to create this animation. Creating layers with the Olympic rings was a little tricky. I used the Magic Wand tool to select each ring, but because the rings overlap with one another, I had to create two separate layers for each ring and then merge them together. I then used the Loop Playback feature to create a loop. If I were to continue this animation, I think I would add an animation to “PARIS 2024.”
2.) Onion-Skinning: Beach Scene and Back Flip
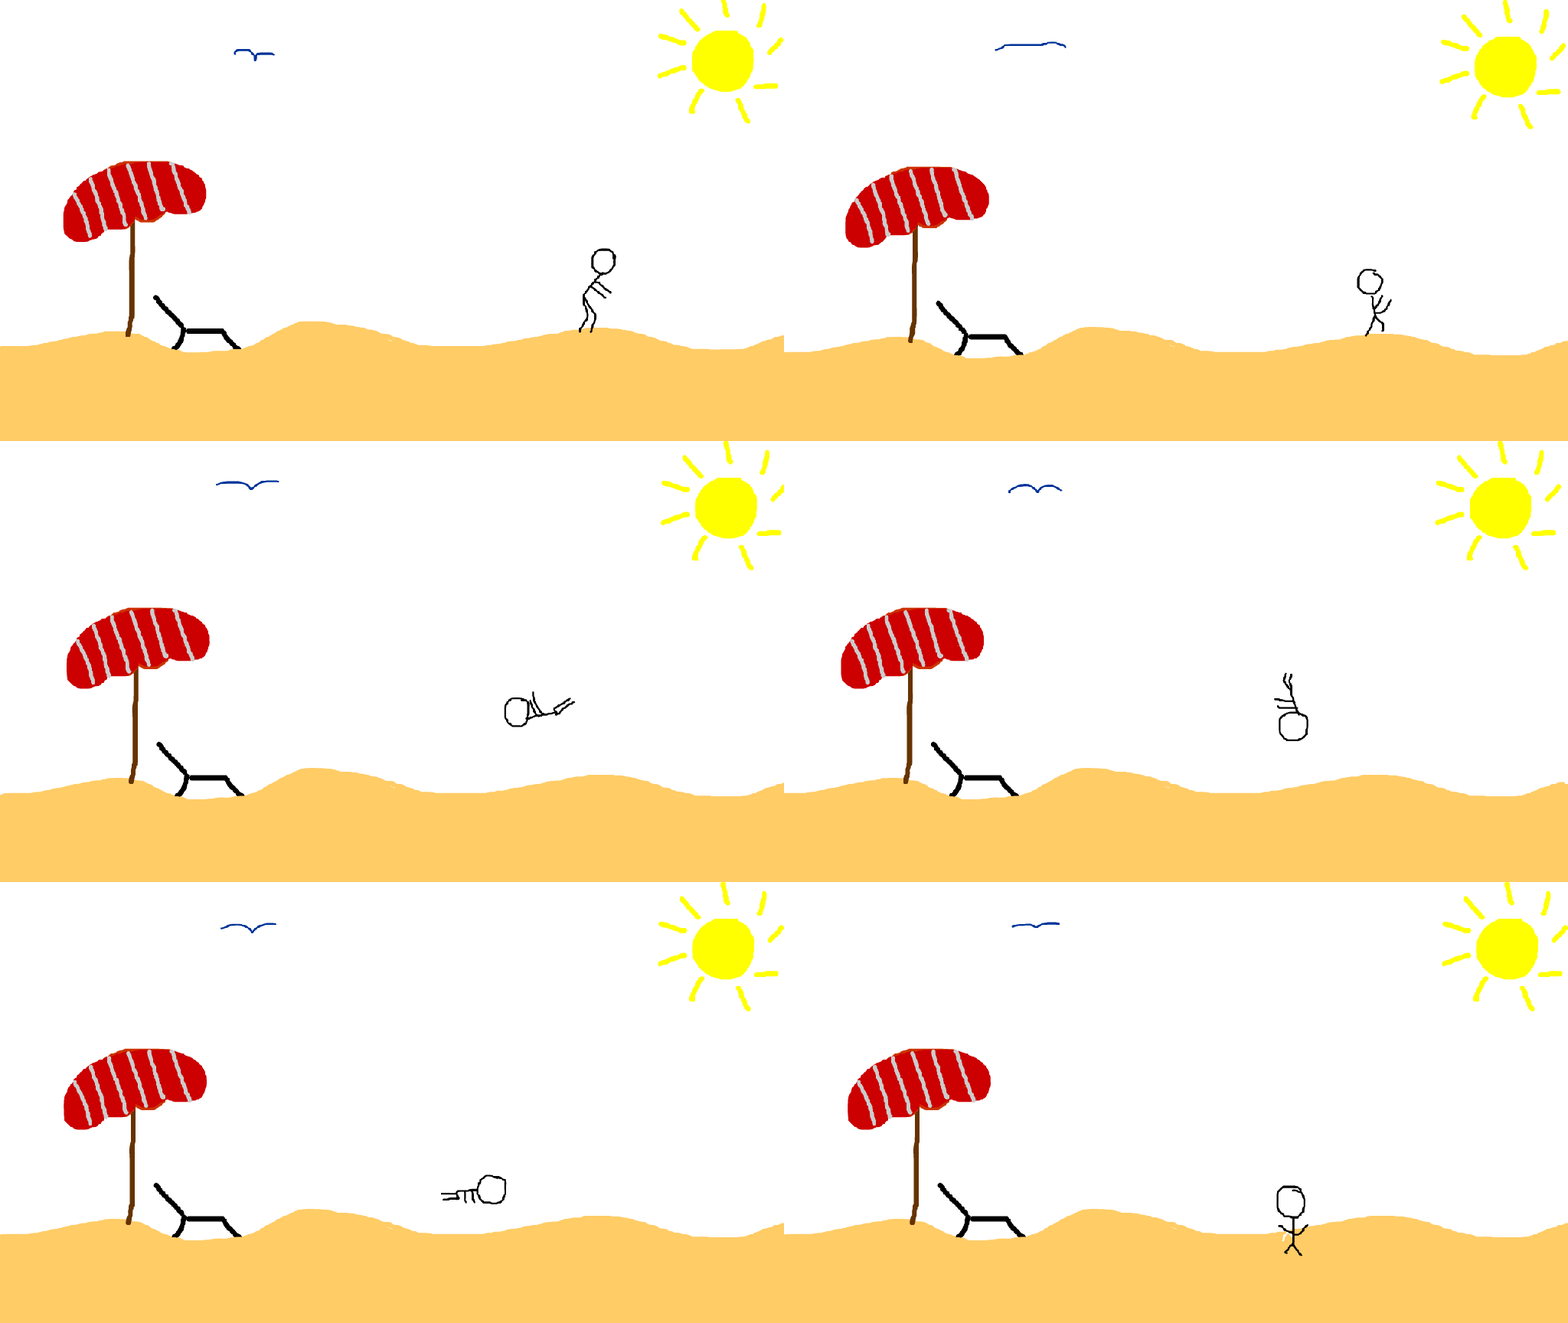
This was my first time ever using Adobe Animate, and as I watched inspiration GIFs for this project, I saw one of a bird which reminded me of the beach. I was also watching a gymnastics meet earlier in the day, so I decided to combine both ideas and create a beach scene with a bird flapping its wings and a person doing a back flip on the sand. Onion skinning and drawing with a mouse were both challenging, but practice makes perfect! Using the onion skinning button in Adobe Animate was very helpful, especially with the person doing the flip, to ensure that they followed a circular path. I’m excited to continue to use this program and improve my onion skinning animation skills.
3.) “You Are My Sunshine” GIF
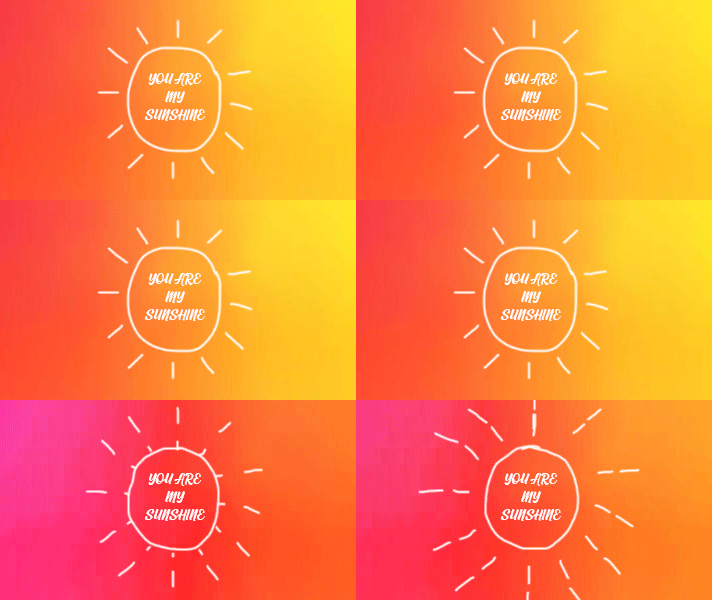
For my third GIF, I decided to go back into Photoshop and experiment more with the timeline feature. For this GIF, I created different frames for the sun and drew different-length rays in each frame to create the sun animation. I also retrieved an orange and yellow background image from vecteezy.com and created frames for this too. For the background, I slightly adjusted the Hue/Saturation levels in each frame to create the changing background colors. I wanted to add some text and chose the “Cardives” script font. In the future, if I were to continue editing this GIF, I might add some animation to the text to increase its size or change the opacity/transparency in each frame.