Have you ever created a mini-documentary? The first step is planning. When you take pre-production seriously, everything gets easier later. You know what b-roll you want, your lighting is set up, and your subject feels ready to be interviewed. If you gather everything before filming, you’re going to be golden.
And when you finally hit record, always film more than you think you need. It’s better to have extra clips you don’t use than to realize you’re missing something important.
This week, after finishing pre-production and filming last week, I’m moving into post-production for my mini-documentary about my coach’s running journey with runner’s dystonia. Now it’s time to learn new editing techniques, tighten the story, and polish the video into a more professional piece. Let’s dive in.
Reading + Writing
Before reading The Bare Bones Camera Course for Film and Video by Tom Schroeppel, my video editing skills were pretty basic. I knew how to use simple tools in Premiere Pro, like the razor tool, but I did not fully understand audio transitions, video transitions, or how to create higher-quality video and sound. Going into this project, I wanted to improve the overall quality of my videos, and this book helped me do exactly that.
Schroeppel starts with the basics, including how to properly use a camera and create visually pleasing compositions for both photos and video. This was an important foundation for me because it helped me think more intentionally about how I frame shots and what will look best to an audience. Learning these basics made me feel more confident behind the camera and more prepared when filming.
One of the most helpful sections focused on audio. I learned how background music, sound effects, and ambient audio can greatly enhance a video when used correctly. Before this, I did not realize how much sound plays a role in storytelling. These techniques helped me understand how to create a more immersive and professional-feeling video experience.
I also really enjoyed learning about lighting, especially three-point lighting. Before reading this book, I did not understand the importance of backlighting, especially when interviewing someone. Now I know how crucial it is to create an evenly lit environment that makes the subject stand out from the background. Good lighting, along with clear audio and strong composition, were the most important skills I gained from this reading.
The area I struggled with the most was linear perspective and making sure not to cross the 180-degree line. This concept was challenging at first, but it helped me learn how to capture different angles that work together rather than clash. It pushed me to think more carefully about camera placement and movement.
Overall, this book gave me a complete overview of how to shoot a strong video sequence and how to plan a project for success. The skills I learned will be incredibly useful for professional and promotional videos at work, personal projects, and even everyday photography and video. Moving forward, I want to continue learning more about lighting and experiment with using multiple cameras in future projects.
Research to Inform
1.) “Run, Forrest, Run” Movie Clip – Forrest Gump
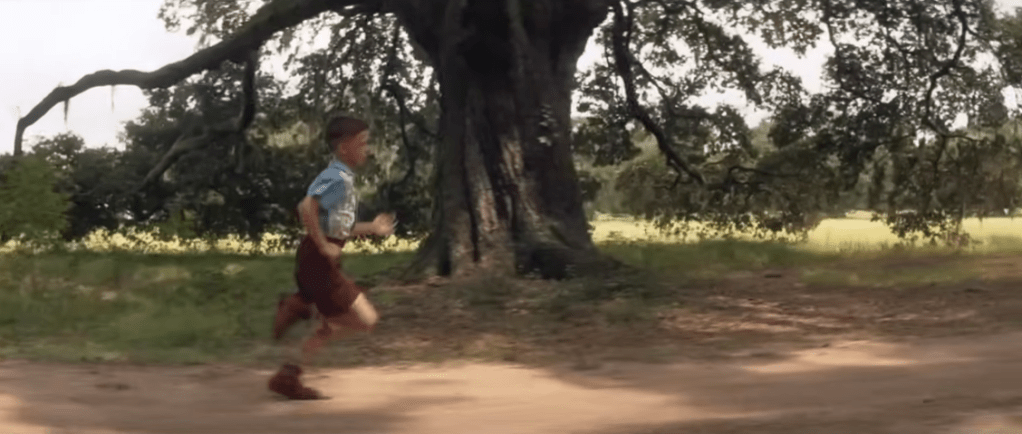
This scene is a strong example of a J-cut. Around the 1:19–1:20 mark, we begin to hear Forrest’s voice as he talks about breaking out of his leg braces. At the same time, the visuals transition into a flashback from his childhood. Because Forrest’s voiceover begins before the visual fully shifts away from the bench scene, this moment is as a J-cut, where the audio from the next moment starts before the image changes.
This editing choice works especially well because this is a major breakthrough moment for Forrest. Hearing his voice while watching the flashback helps show how deeply connected he is to this memory. It feels like he is reliving the moment rather than simply telling a story. Using this same technique in my mini-documentary would make sense, such as showing b-roll of my coach running on the track while her voice plays in the background, and then cutting back to the interview. This approach would help show how connected she is to her own story and experiences.
2.) Harry Potter and the Sorcerer’s Stone – Hagrid Explains Harry’s Past
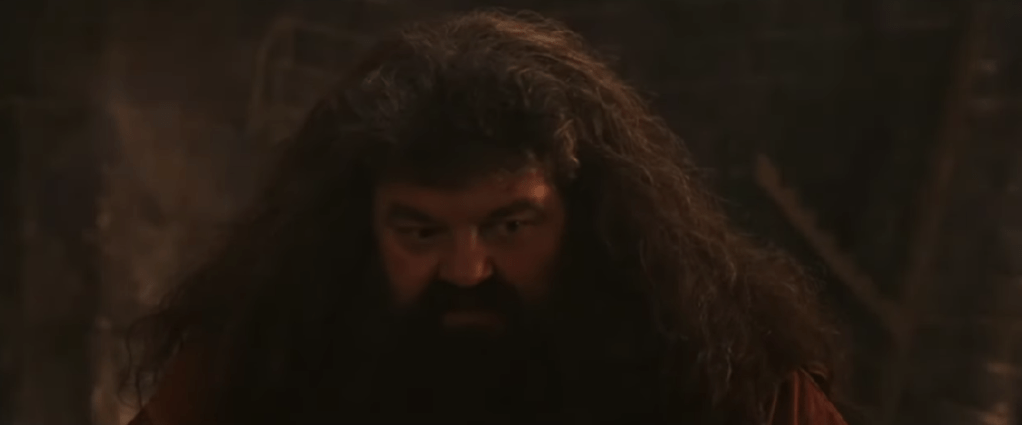
This scene has an example of an L-cut, where the audio from one scene continues even after the visuals change. At the beginning of the clip, Hagrid is shown speaking to Harry. As the scene transitions into flashback clips from Harry’s childhood, Hagrid’s voice continues in the background. Because the audio carries over while the visuals shift, this moment qualifies as an L-cut.
This editing technique helps ease the audience into the flashback. Instead of feeling like a sudden cutaway, the flashback feels more like a spoken memory being brought to life. Using this same approach in my mini-documentary would be effective when transitioning between interview footage and b-roll. Letting the interview audio continue over b-roll would help create smoother transitions and make the story feel more natural and connected.
Create
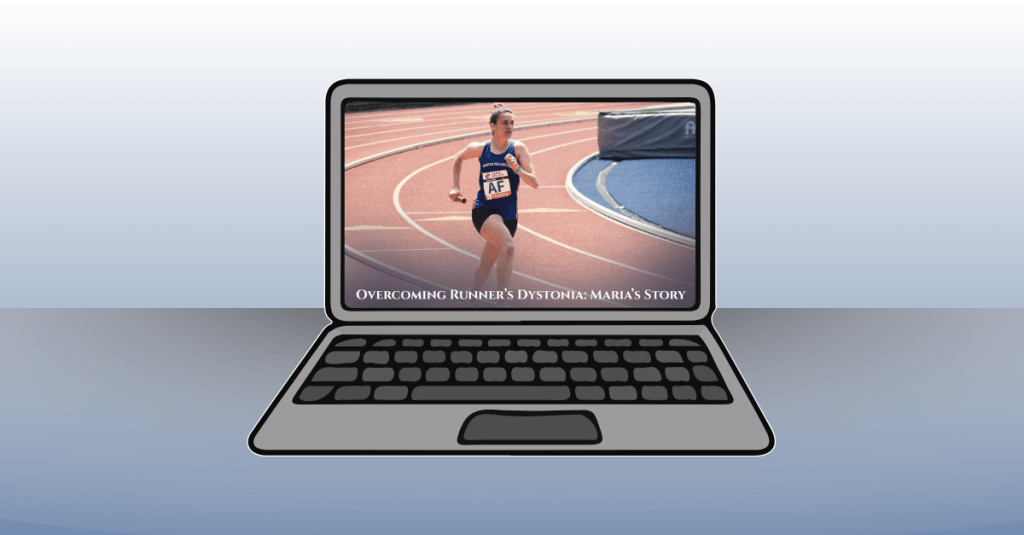
Runner’s Dystonia: Maria’s Story of Resilience
This mini-documentary tells the story of my high school running coach, Maria, and her journey with runner’s dystonia. The video follows her experience from running for over twenty years, through her diagnosis, and into her return to the sport she loves. My goal for this piece was to create a story that felt cinematic, honest, and hopeful, while allowing Maria’s voice to remain at the center of the narrative.
I really enjoyed the process of creating this video from start to finish. From carefully planning the project, interviewing my coach, and filming b-roll at the track, to editing everything together, each step helped strengthen my skills. During editing, I focused on making the visuals feel warm and inspiring. I applied subtle filters to the track footage to give it the look of being filmed at sunrise, which helped reinforce the hopeful tone of the story.
Music played a big role in setting the mood. I used a background track from bensound.com titled “Birth of a Hero,” which added to the cinematic feeling I was aiming for. To help the story flow smoothly, I used both J-cuts and L-cuts when transitioning between interview footage and b-roll. These techniques allowed Maria’s story to feel connected and uninterrupted, while also giving the visuals room to breathe.
I let Maria tell her story in full and used my own narration to introduce the film, connect different parts of her journey, and bring the piece to a meaningful close. I also used lower-third graphics during the interview clips, adding small animations to make them feel polished and professional. In a few clips, I applied a Gaussian blur effect to remove minor visual distractions, and I slowed down certain shots to enhance the cinematic feel.
Overall, this project helped me grow significantly in Premiere Pro and in my approach to visual storytelling. More importantly, I hope the story itself resonates with viewers. My goal was to create a piece where storytelling comes first, and where people facing runner’s dystonia, or any kind of setback or obstacle, can feel seen, encouraged, and inspired. It was a joy to bring this video to life.

Leave a comment