After all the planning, scripting, and storyboarding from last week, it was finally time to bring my video montage to life. This week’s focus was on production and post-production, filming the shots I planned at Valley Forge National Park and then editing them together into a cohesive story. From setting up my camera and capturing the perfect lighting to layering narration, sound effects, and background music, this stage brought all the preparation together. Every detail, from the angle of a shot to the rhythm of the edit, played a role in shaping how the story feels on screen. Let’s walk through the steps I took to capture, edit, and finalize my video montage this week.
Reading and Writing
This week, I read Chapter 10: After the Shoot – Editing from Tom Schroeppel’s The Bare Bones Camera Course for Film and Video. This chapter explained what happens when filming is done and how important it is to stay organized and intentional when editing a project. Schroeppel starts by reminding readers that our eyes naturally see the world with a view of about 25 degrees wide, which means editing needs to help guide the viewer’s attention in a clear and meaningful way. One of his first suggestions is to read the script before editing, so you understand how you want your audience to react to your video. Knowing the emotion or message you want to communicate makes it easier to choose which clips to use and how to arrange them.
Schroeppel also emphasizes the importance of logging all material with as much detail as possible. This can be done in the field or right before editing. Using consistent keywords, labeling shot types (like MS for medium shot or CU for close-up), and marking clips as “good” or “NG – no good” helps keep everything organized. This makes the editing process move faster and reduces stress. He also introduces the idea of a paper edit, which is when you cut up pieces of your editing log and arrange them on a table or floor to plan the order of your video. This allows you to rearrange sections easily until the sequence feels right.
When it comes to actual editing, Schroeppel suggests starting with an establishing shot so viewers know where they are right away. This prevents confusion and lets the audience focus on the message instead of trying to figure out the location. He recommends using basic sequences by cutting back and forth between related shots in the same setting, and making sure each shot is different enough to keep things visually interesting. Pacing is also important: a good editor guides viewers smoothly from shot to shot without distracting them.
Schroeppel also highlights how powerful sound is in editing. Background music can help set the mood, reinforce the message, and tie the whole piece together. He explains that music should stay truly in the background, not too loud or too bold, so it supports the visuals rather than distracts from them. He also explains the goal of sound mixing: to improve the quality of the original audio and blend voice, music, and sound effects into one clear, effective track. After editing, Schroeppel recommends sharing the video with someone from your target audience or a friend to get feedback. Sometimes fresh eyes help catch things you missed, giving you a chance to make final adjustments.
Overall, this chapter gave me a much better understanding of how careful planning, thoughtful editing, and strong sound design can bring a video project together. These tips helped me a lot during the production and editing of my video montage this week.
Research to Inform
To better understand how different editing choices can shape the mood and message of a video, I watched several examples that use a variety of editing techniques. I looked at videos with fast cuts, slow pacing, creative transitions, and strong sound design to see how each creator used editing to tell their story. Studying these examples helped me learn what kind of editing style I connect with the most and what techniques I want to use in my own video montage. By paying attention to elements like transitions, pacing, sound effects, and background music, I was able to get a clearer idea of how I want my final piece to look and feel.
1.) “You Can’t Stop Us” – Nike Ad
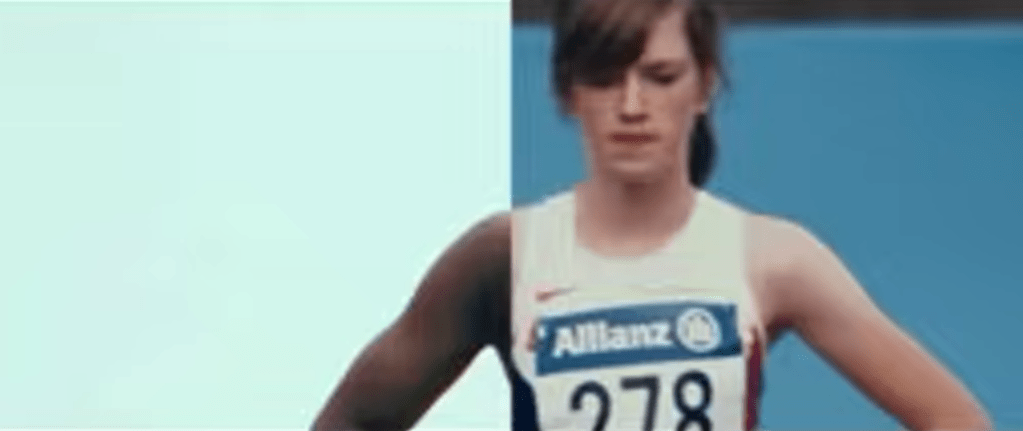
In Nike’s “You Can’t Stop Us” commercial, one of the most powerful editing tools is the split screen. The screen is divided so that different athletes and actions appear side by side, and often an action on the left will match perfectly with an action on the right, like a tennis serve transitioning into a basketball shot. This visual design shows that all sports are connected and that athletes everywhere are united as one movement. The background music is uplifting and hopeful, giving the viewer a sense of possibility and encouragement. The shots change every five to six seconds, which is just long enough to see the action clearly but short enough to keep the energy high and moving. Together, the split screen, the rhythm of the cuts, and the inspiring music tell a story of endurance, unity, and hope.
2.) Student-Led Tour of Harvard University
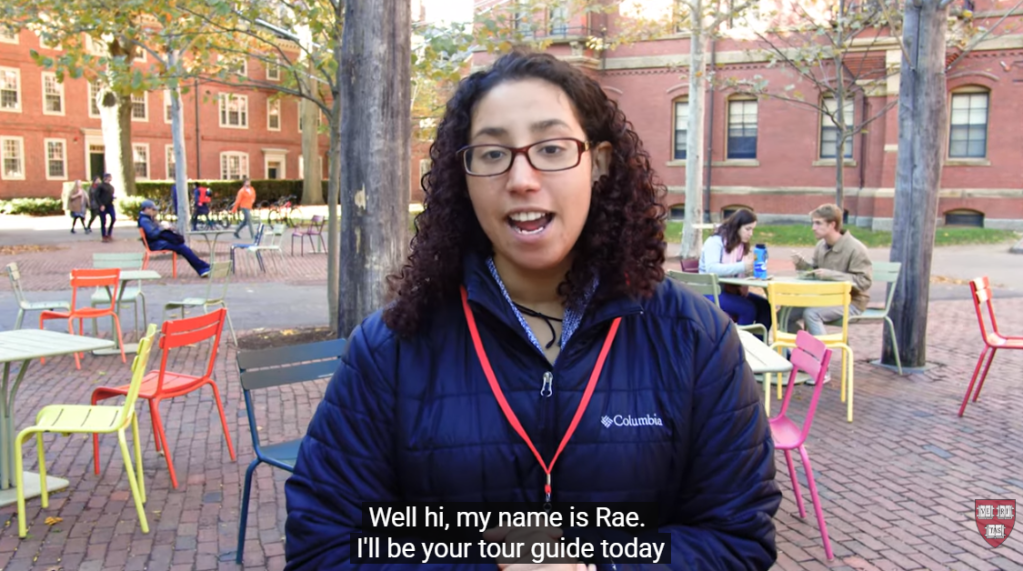
In this student-led campus tour video of Harvard University, one of the techniques that really stands out is the transition between locations: the videographer speeds up the walking shots between buildings to move smoothly from one place to the next. This creates a natural “bridge” between scenes, so you don’t just jump from one building to another without context. The shots of each building or location are long enough (about 5 seconds) that you can actually look at the architecture and feel the space, and during those longer shots the videographer uses pans and tilts to showcase the size and detail of the buildings. The background music is upbeat and energetic, matching the excited tone of the voice-over, which makes the viewer feel as though they’re walking through the campus themselves. By using these transitions, the creator keeps the viewer engaged and helps them feel like they are on the campus tour.
3. Paris 2024 Olympics | Official BBC Trailer
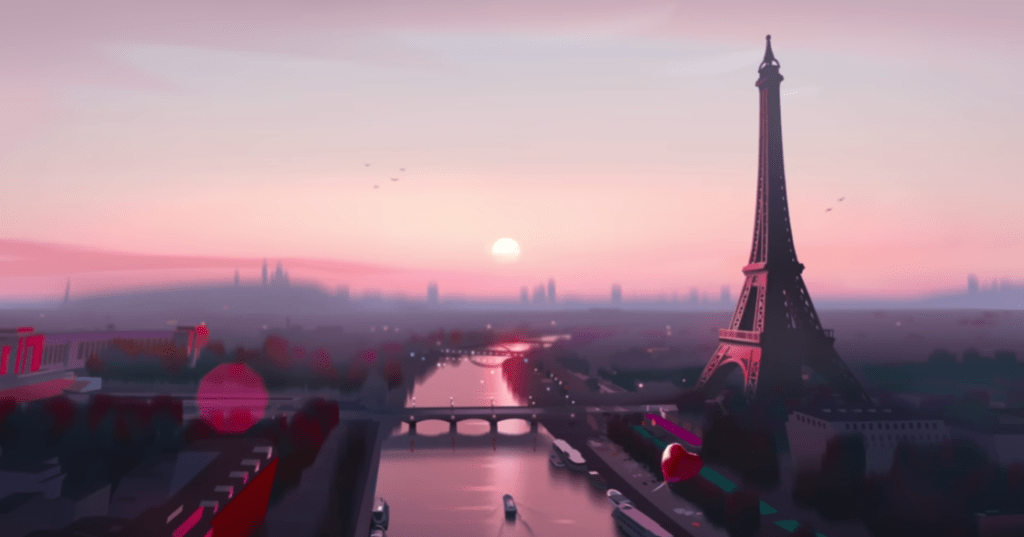
Another strong example of fast editing is the Paris 2024 Olympics Official BBC Trailer. This video uses quick transitions and fast cuts to capture the excitement and nonstop action of the Olympics. Each scene only stays on the screen for a few seconds before jumping to the next sport, which keeps the viewer’s energy high. The transitions are quick cuts between animated versions of each sport, making the entire trailer feel sharp and rhythmic. The sound design also stands out as each animation has a sound effect that matches the sport, like a splash for swimming, cheering crowds for track and field, and the thud of a gymnast landing. These audio cues help the viewer feel connected to each moment. The video also uses a consistent color palette, which keeps the animations feeling unified and gives the trailer a strong brand identity. The deep, cinematic voiceover adds contrast to the fast visuals and helps the trailer feel like the preview for an epic movie. The mix of fast edits, bold animations, and dramatic narration creates a sense of excitement that reflects the anticipation and global scale of the Olympics.
Create
Valley Forge National Park Video Montage
For my video montage at Valley Forge National Park, my main goal during production was to capture a wide variety of shots and locations. I wanted as much content as possible so I could choose the strongest clips later. I visited the Valley Creek Trail, the Covered Bridge, the National Memorial Arch, the Von Steuben Statue, the Washington Memorial Chapel, and several other areas throughout the park. While filming, I tried to get a mix of establishing shots, wide shots, medium shots, close-ups, and extreme close-ups to help keep the final video visually interesting. During editing, I used tools like Brightness and Contrast to even out the lighting between clips because the weather changed from sunny to cloudy as I filmed. I also used a Gaussian blur to soften small blemishes on the footage and the trim tool to shorten shots and tighten the pacing. I added cross dissolve transitions between each location to show viewers when we were moving from one place to another, and I used straight cuts when switching between different angles of the same landmark to make the scenes feel connected. For audio, I layered in ambient sounds like soft wind, birds chirping, water flowing, and leaves crunching to help set the scene. I also included sound effects such as footsteps on gravel, a cabin creaking, a train passing, and gentle church bells to match each location. My background music is calm and peaceful, and I chose it to help create a warm, welcoming mood. Overall, this project was a lot of fun, and I was happy that I could avoid filming people in the park. Planning my script and shot list ahead of time made filming much easier, and I learned a lot about both audio and video editing while creating a cohesive montage of Valley Forge National Park.

Leave a comment